Getting Started with ESP32 : ILI9341 TFT Display
Published Nov. 27, 2024, 9:08 a.m. by Ezra Ogori

In today’s guide, we’ll dive deep into interfacing the ILI9341 TFT display with the ESP32, creating a visually appealing and functional graphical user interface (GUI). Whether you’re building an IoT dashboard, an interactive device, or a simple display project, the combination of the ILI9341 and ESP32 offers power, versatility, and performance.
This tutorial is perfect for beginners and seasoned developers alike, as we’ll cover everything from hardware setup and library integration to advanced features like rendering text and images. Let’s get started!
ILI9341 and ESP32
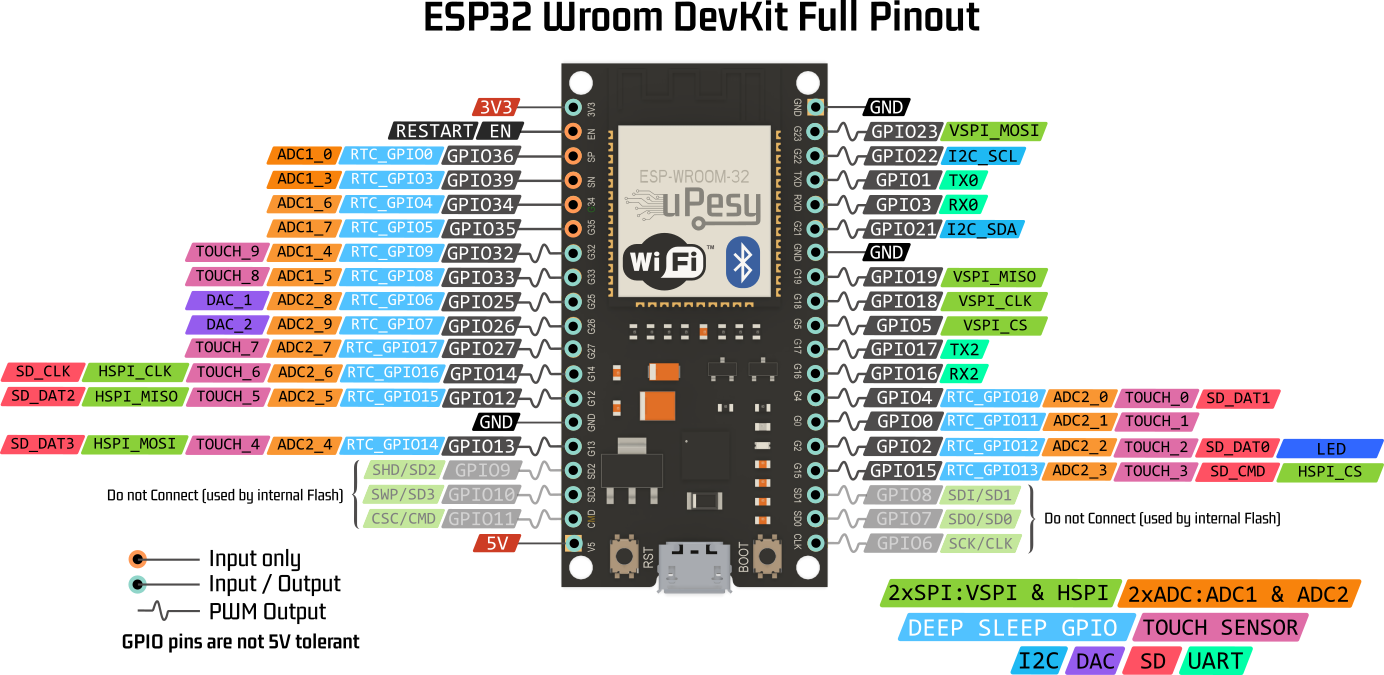
The ILI9341 TFT display is a popular 2.4-inch to 3.5-inch screen module with vibrant colors, high resolution, and touch support (optional in some variants). It uses the SPI protocol, making it a fast and efficient choice for embedded systems.

The ESP32, on the other hand, is a powerhouse microcontroller with Wi-Fi, Bluetooth, and dual-core processing. Its high-speed SPI capabilities make it an ideal match for driving the ILI9341 display while handling complex tasks like data transmission or real-time processing.

What You’ll Need
To follow along, you’ll need the following components:
ESP32 Dev Board (e.g., ESP32-WROOM-32) ILI9341 TFT Display (SPI variant) Connecting wires or a breadboard A 5V power source or USB connection Adafruit GFX and Adafruit ILI9341 libraries Arduino IDE or PlatformIO
Step 1: Setting Up the Hardware
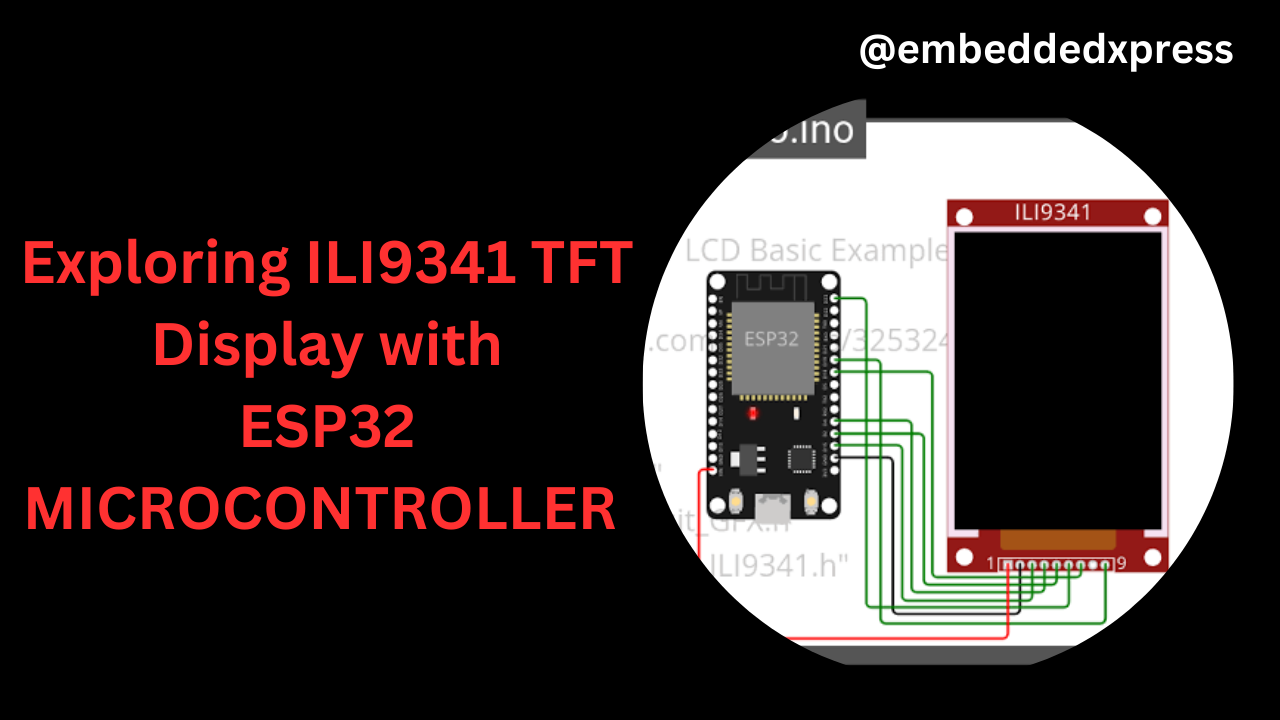
Pin Connection:
| Component | ESP32 Pin | ILI9341 Pin |
| TFT_DC | 18 | DC |
| TFT_CS | 23 | CS |
| TFT_RST | 19 | RST |
| VCC | 3V3 | VCC |
| GND | GND | GND |
| SCK | 13 | SCK |
| MISO | 12 | MISO (Not used in this example) |
| MOSI | 14 | MOSI |
To drive the ILI9341 display, we’ll use the Adafruit GFX and Adafruit ILI9341 libraries. These libraries simplify the process of rendering graphics and text, providing pre-built functions for drawing shapes, images, and more.
How to Install the Libraries
- Open Arduino IDE.
- Navigate to Sketch > Include Library > Manage Libraries.
- In the Library Manager, search for Adafruit GFX and click Install.
- Similarly, search for Adafruit ILI9341 and click Install.
Once installed, you’re ready to write and upload your code.
Step 3: Writing the Code
Step 4: Uploading the Code
- Connect your ESP32 to your computer using a USB cable.
- In the Arduino IDE, select your ESP32 board under Tools > Board (e.g., “ESP32 Dev Module”).
- Select the correct port under Tools > Port.
- Click Upload to compile and upload the code.
- Once the upload completes, the display should show 'EmbeddedXpress" text
Results
This is the result obtained
Applications
With the ESP32 and ILI9341, you can create projects such as:
-
IoT Dashboards: Display live sensor data, device statuses, and controls.
-
Wearables: Compact, low-power graphical interfaces.
-
Smart Home Displays: Monitor and control home automation systems.
Happy coding!


EquilibradoDat July 4, 2025, 12:18 a.m.
<a href=https://vibrometro1a.com>analisis de vibraciones</a>
Dispositivos de ajuste: clave para el funcionamiento fluido y optimo de las dispositivos.
En el ambito de la innovacion actual, donde la rendimiento y la fiabilidad del aparato son de alta significancia, los equipos de balanceo juegan un rol vital. Estos equipos adaptados estan disenados para calibrar y estabilizar piezas dinamicas, ya sea en maquinaria de fabrica, medios de transporte de movilidad o incluso en dispositivos de uso diario.
Para los especialistas en reparacion de sistemas y los profesionales, utilizar con aparatos de balanceo es crucial para proteger el operacion fluido y estable de cualquier aparato rotativo. Gracias a estas herramientas tecnologicas innovadoras, es posible minimizar notablemente las sacudidas, el estruendo y la esfuerzo sobre los soportes, extendiendo la tiempo de servicio de componentes valiosos.
Asimismo importante es el funcion que desempenan los aparatos de balanceo en la atencion al consumidor. El apoyo profesional y el soporte constante usando estos sistemas posibilitan dar servicios de excelente calidad, mejorando la contento de los clientes.
Para los responsables de emprendimientos, la aporte en equipos de equilibrado y detectores puede ser clave para optimizar la efectividad y rendimiento de sus equipos. Esto es principalmente trascendental para los duenos de negocios que dirigen pequenas y medianas negocios, donde cada detalle importa.
Ademas, los dispositivos de ajuste tienen una vasta implementacion en el campo de la seguridad y el control de excelencia. Permiten identificar eventuales errores, reduciendo intervenciones caras y danos a los sistemas. Tambien, los datos generados de estos equipos pueden aplicarse para optimizar sistemas y incrementar la visibilidad en buscadores de busqueda.
Las areas de uso de los dispositivos de equilibrado comprenden numerosas areas, desde la produccion de ciclos hasta el supervision ecologico. No interesa si se habla de importantes fabricaciones industriales o pequenos talleres de uso personal, los sistemas de ajuste son indispensables para proteger un operacion eficiente y sin presencia de paradas.